Cisco IP Phones and Unifi Talk
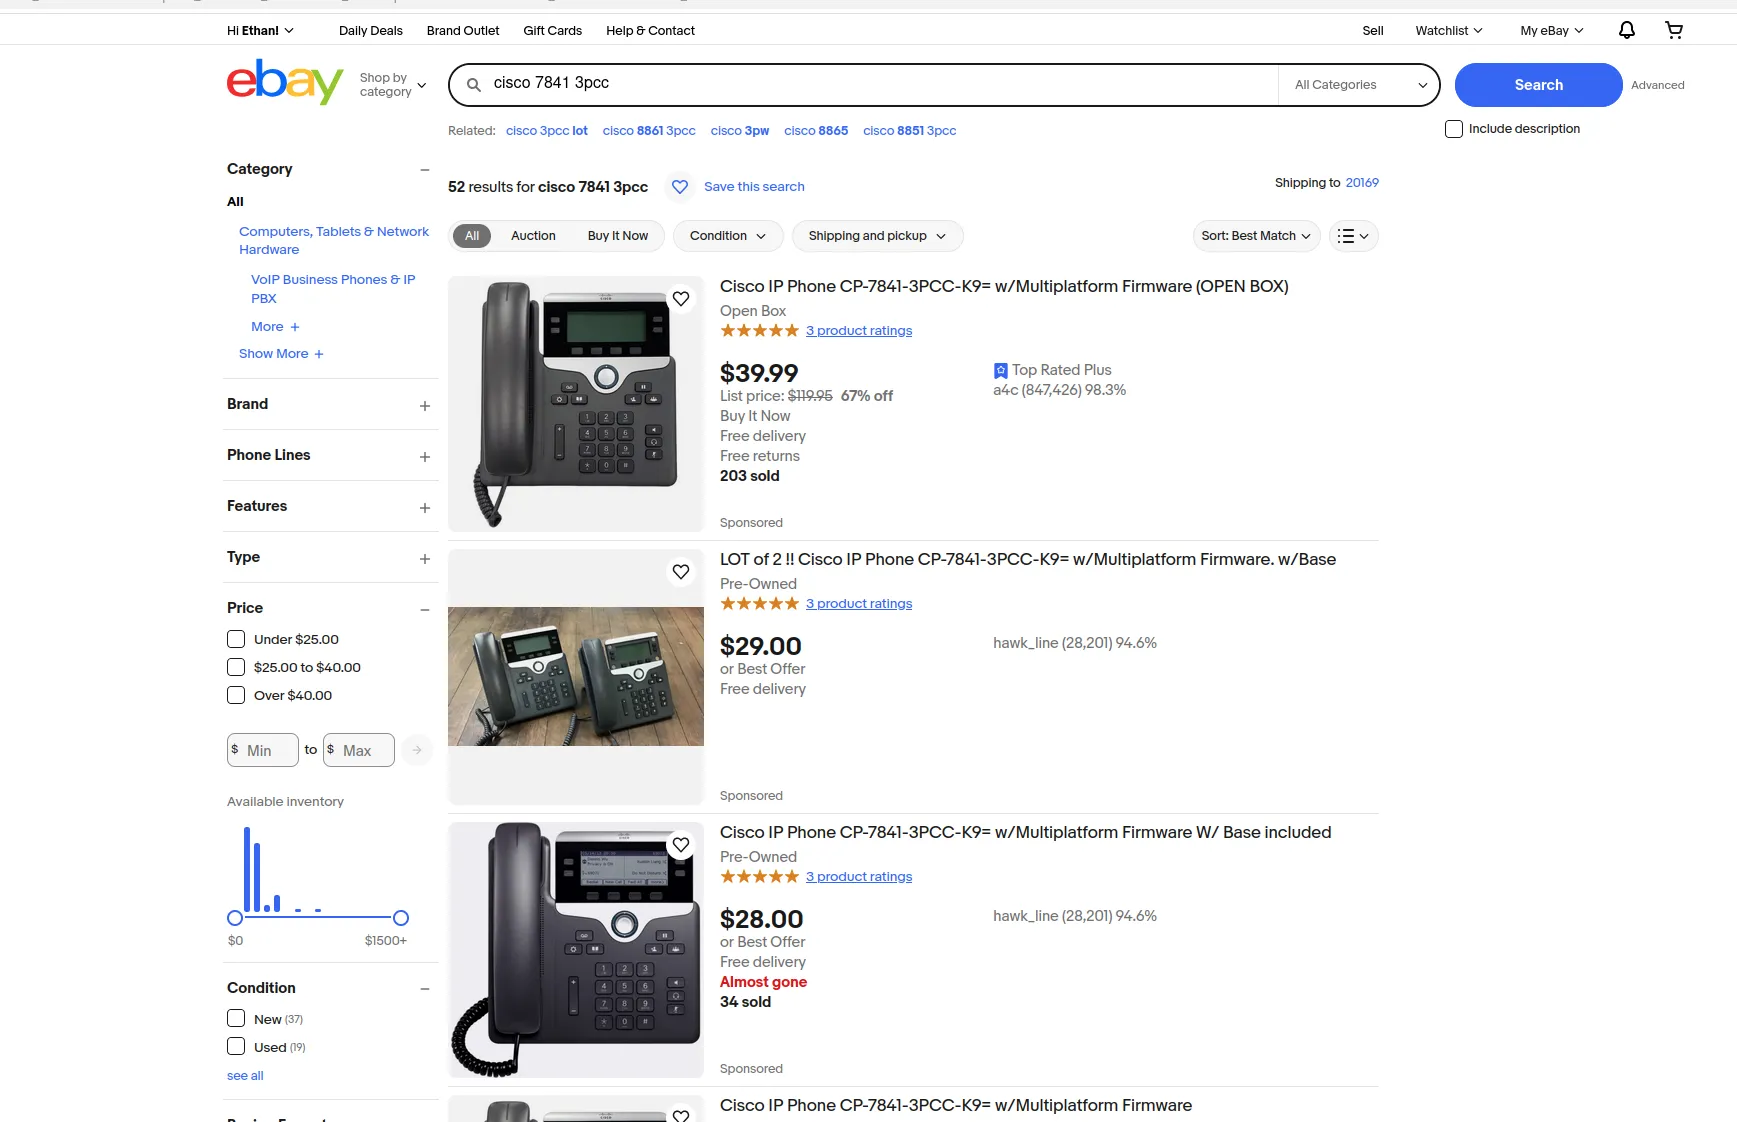
I recently had the pleasure of ditching Comcast for Unifi Talk, but as much of a Unifi fanboy I am, I (nor my client) do not fancy spending $200 on a single phone. Used prices on eBay weren’t any better.
But, you can buy a second-hand CP-7841 for dirt cheap compared to the Unifi phones (these are not endorsements nor guarantees these listings will work):
To my knowledge, nobody has written instructions on how to get a Cisco phone working with Unifi Talk, so here goes.
The Cisco CP-7841 or the CP-8851 (this has a color screen) are probably good choices. Both support gigabit Ethernet, PoE, and have a gigabit passthrough port for the computer that was probably plugged into the wall.
The 7841, at least, doesn’t come with a power supply in the box, from the factory, so you will probably want to use PoE, a PoE injector, or you will need to buy a DC power supply.
The Cisco CP-7861 only has fast ethernet (100M) - no gigabit. Don’t learn the hard way!
Cisco makes phones that have two types of software: one that requires Cisco communications software, and one that supports “third party call control” (“3PCC”), i.e. SIP. You can only flash the other type of firmware on Cisco phones if you buy a license, which appears to be around $47 on CDW (published price). So try to find a phone that already has the third party firmware on it. If you find one with a model number containing “3PCC” you should be fine.
A note on Unifi Talk: for initial setup, you will need a Unifi Talk device. We used an ATA bought second hand to use for a fax machine.
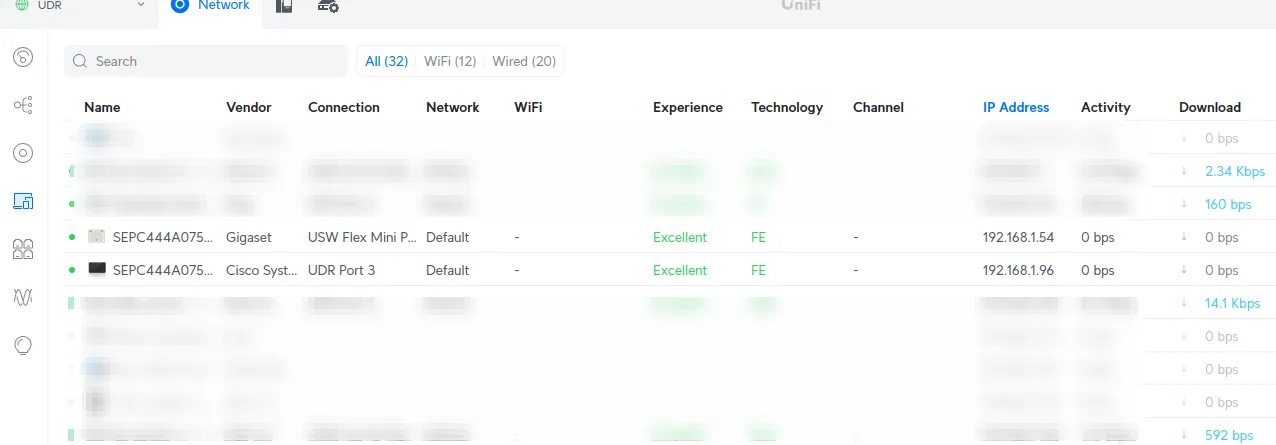
Plug in your phone to Ethernet; make sure the phone shows up in Unifi Network as a DHCP client:
You should be able to open the phone’s configuration utility over HTTP (port 80) or HTTPS (443) by default. If you can’t, or you end with a spinning circle, see “upgrading firmware”.
You probably want to upgrade the phone to the latest firmware version. When I did this, the phone came with ten year old firmware and a configuration utility that didn’t load; upgrading to a 12.x firmware fixed it.
You can only upgrade one major firmware version at a time, so upgrade from 10.x to 11.x then 12.x.
You can download firmware on Cisco’s website here. Make sure you select “IP Phones with Multiplatform Firmware”. For example, the file you will need for the 7841 to upgrade from 11.x to 12.x are here.
Move the zip file into a folder, unzip it, then start an HTTP server on a computer accessible from the phone:
mkdir cisco-firmware && cd cisco-firmware
mv ../cmterm-78xx.12-0-7MPP0001-46_REL.zip .
unzip cmterm-78xx.12-0-7MPP0001-46_REL.zip
python3 -m http.server
Then, start the upgrade by making this GET request, substituting in the fields as necessary, and replacing the sip78xx.12-0-7MPP0001-46.loads filename if needed:
http://[PHONE IP ADDRESS]/admin/upgrade?http://[COMPUTER IP]:[HTTP PORT NUMBER]/sip78xx.12-0-7MPP0001-46.loadsThe phone will download the four files from the HTTP server you started, and reboot after it is done.
This article does not go into how to set up Unifi Talk other than creating SIP credentials.
Go to the Unifi Talk interface, select the “Assignments” tab, then click the “plus” icon to add a new third-party device:
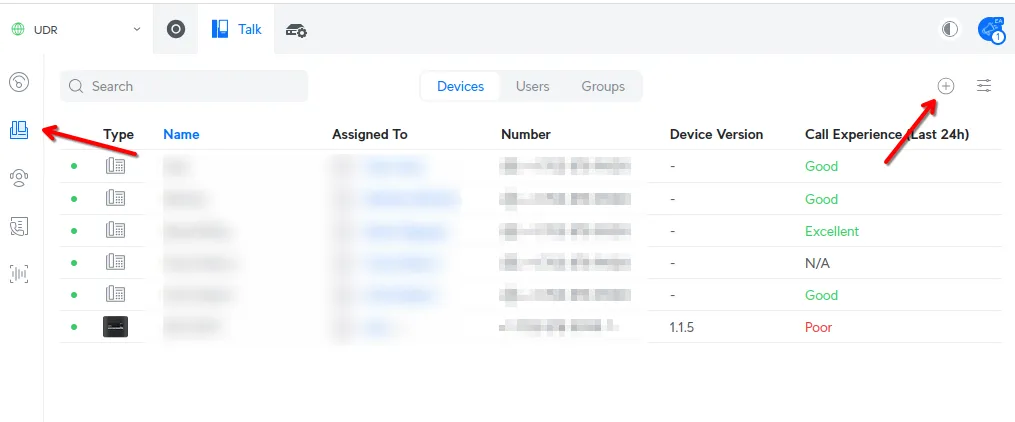
Enter a name for the device and assign it to a user/group (or create a user/group if needed, first). Unifi Talk will then give you SIP credentials for this device.
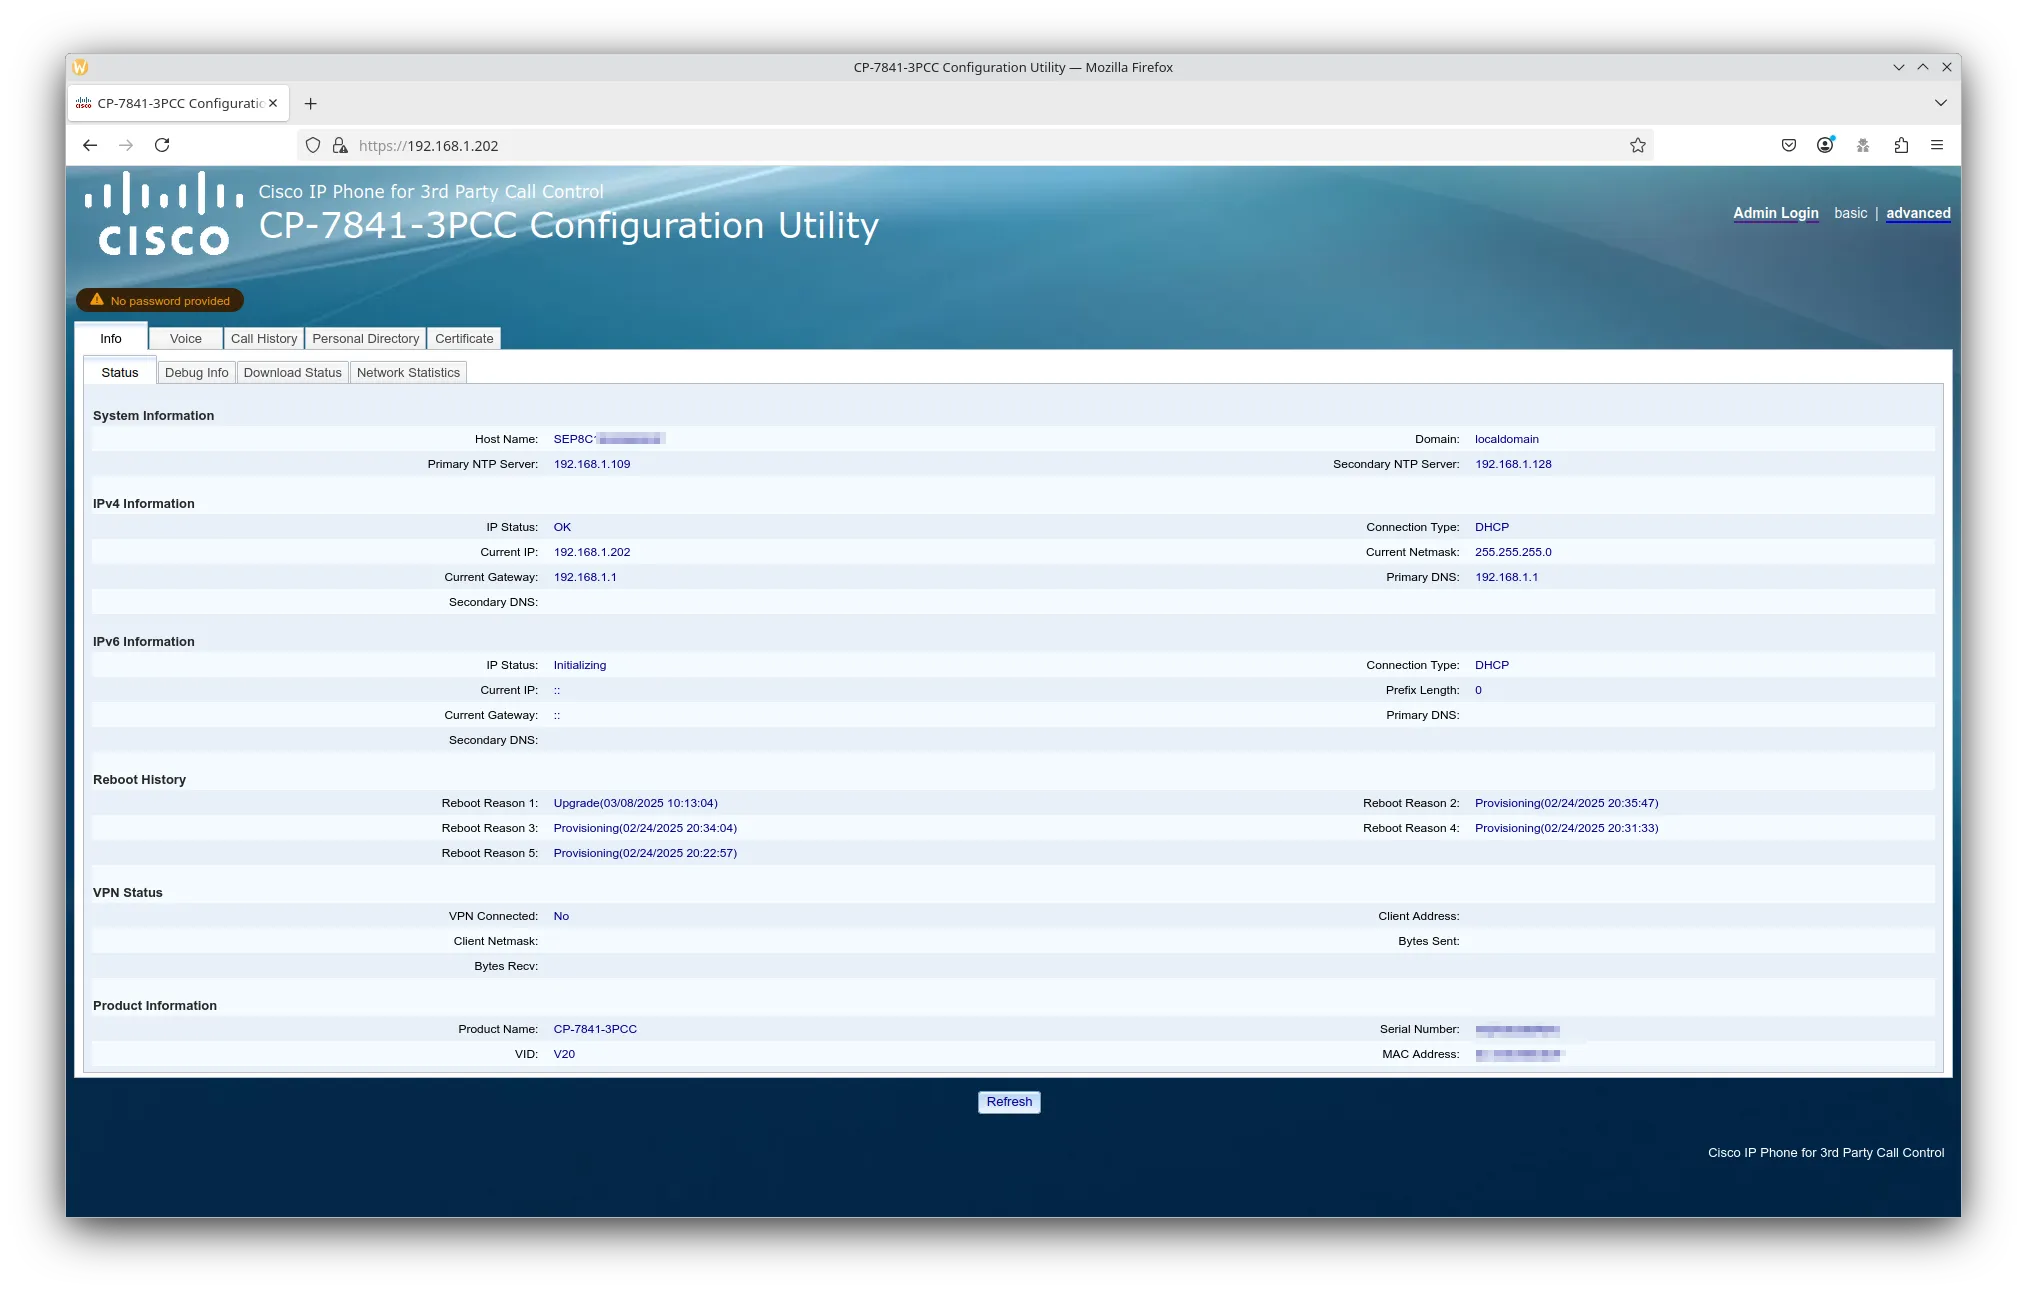
The configuration website should look like this (without the fields filled in):
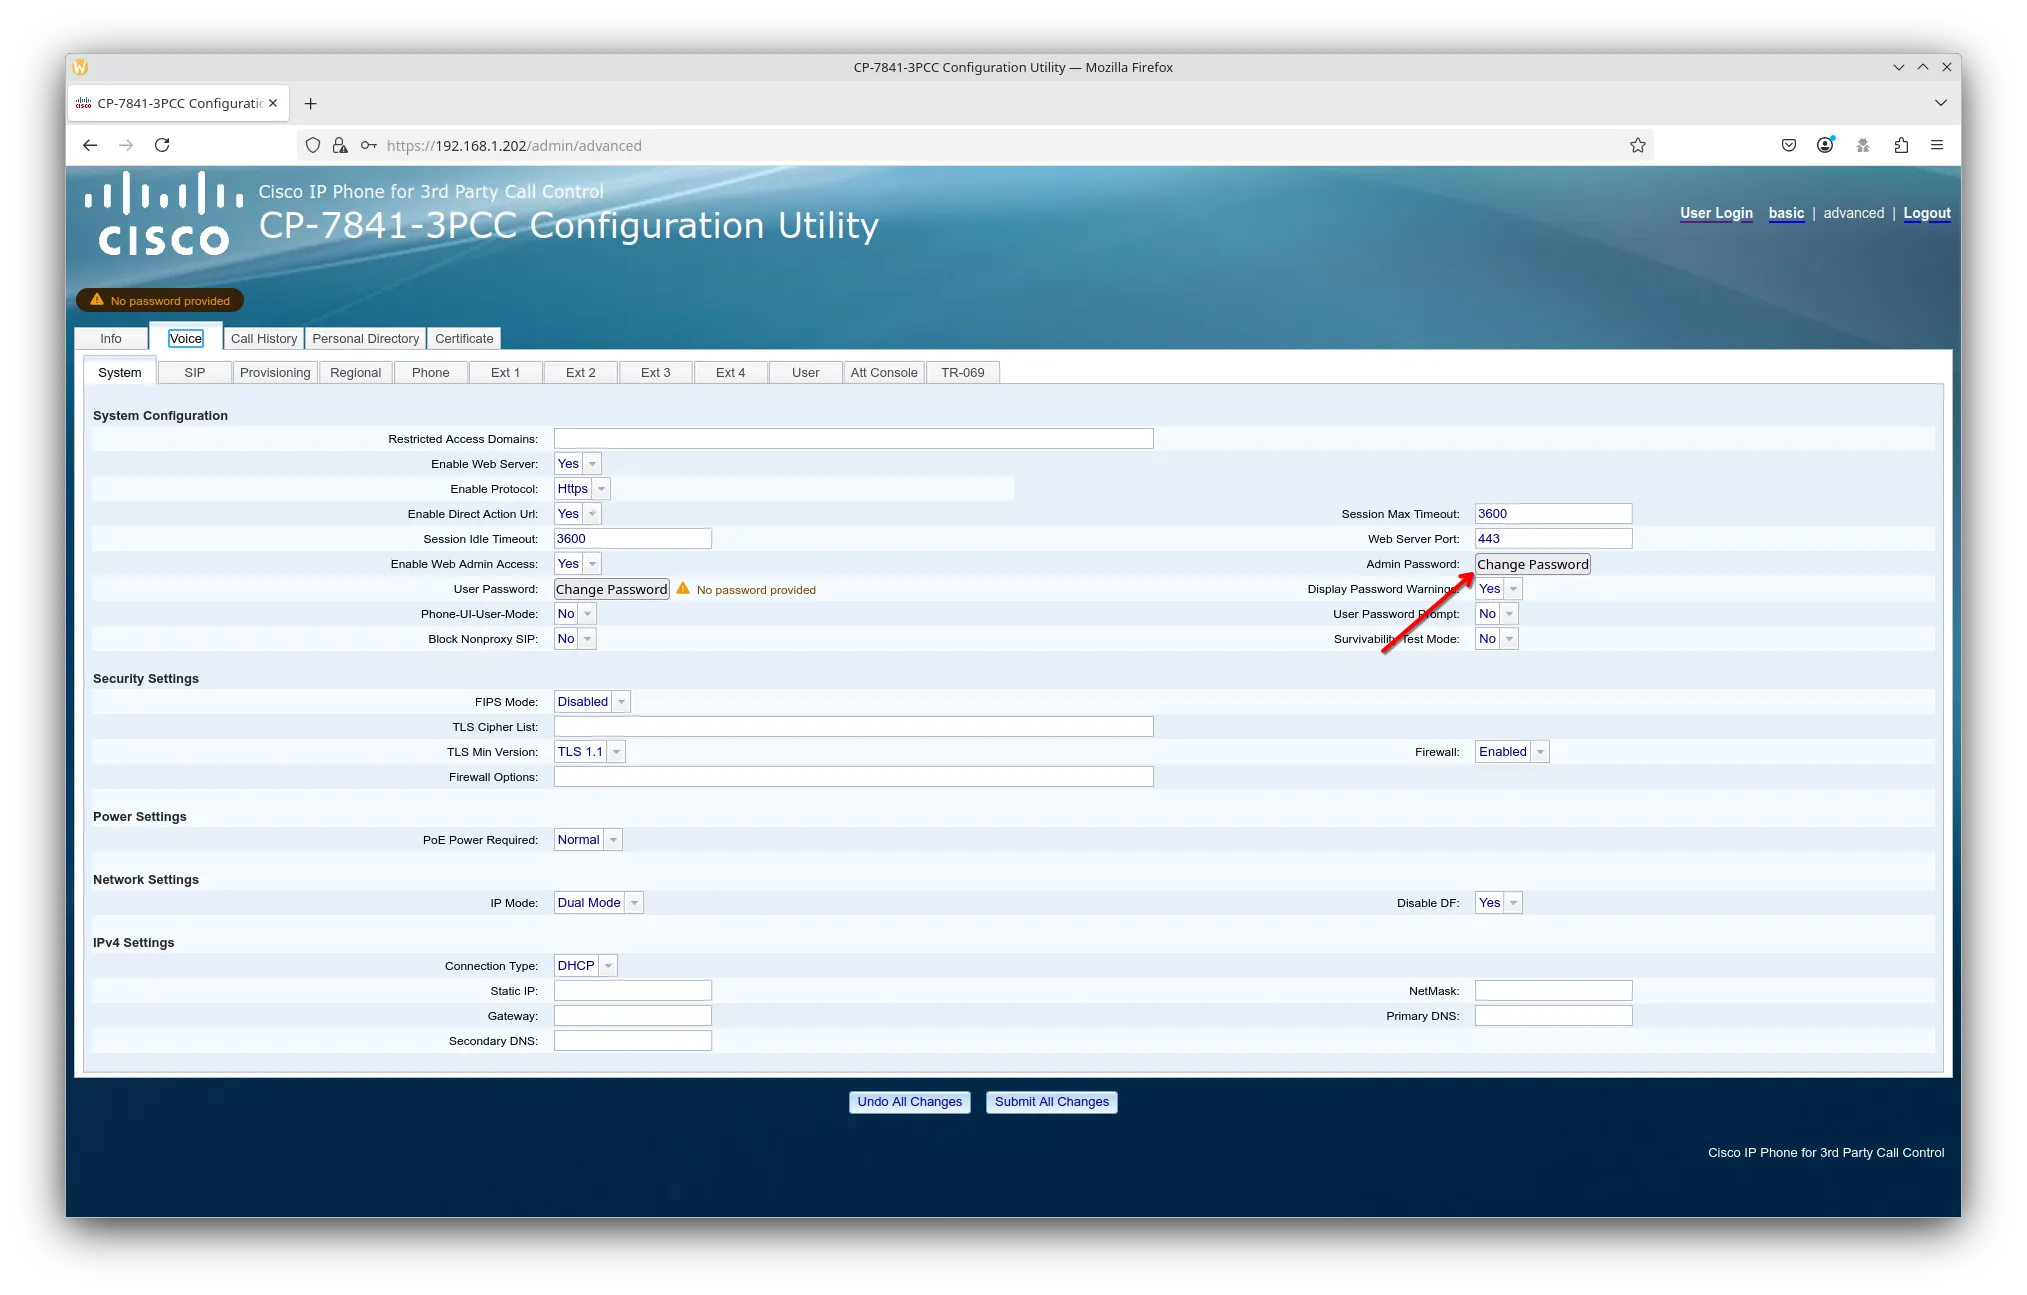
Go to the “advanced” admin page:
http://[PHONE IP ADDRESS]/admin/advancedThere is no default password, but you should set one - go to “voice”, “system”, then change the admin password:
After you sign back in, you can set an NTP server on the same page (scroll down under “optional network configuration”).
Under the “provisioning” tab, change “provision enable” to “No”.
Under the “regional” tab, set the time zone at the bottom of the page (under “time”).
Under “Phone”, set the “Voice Mail Number” to *86. This is the number that is dialed when you press the “voicemail”
key on the phone.
Under “Ext 1”:
Click “Submit” at the bottom of the page. The phone should reboot, and after, the device should show as “registered” in Unifi Talk, and you should be able to receive and place calls.